Well, after moving in to my apartment back in May and finally getting my keezer moved in, I plugged it in only to find that it took a crap somewhere along the way. Thinking moving it may have cause a leak in the refrigerant lines. Every person I’ve talked to said trying to repair it myself isn’t a great idea (not being very experienced with refrigeration), and getting someone in to fix it, I may as well buy a new freezer. Very disheartening, but at least the only significant loss was my time. I had picked the freezer up off craigslist for about $70, plus some materials from Home Depot (lumber and construction adhesive for the collar, a couple cans of Rustoleum appliance epoxy and chalk board paint). The rest of the purchased items will be able to be used on Keezer 2.0! Here’s the current keezer, stripped of parts and awaiting recycling:
Luckily, my girlfriend, knowing how important this hobby is to me and being an absolute Saint, ordered me a brand new chest freezer as an early birthday present. I figured this would be a good opportunity to document my new keezer build, so I started this thread and will post pictures along the way. Hoping to have the freezer by tomorrow afternoon, and have it up and running ready to serve by next week, or the following week at the latest, as I currently have 3 kegs sitting in the basement waiting to be carbed and enjoyed…
Your old keezer reminds me of mine (can be seen in this thread: https://www.homebrewersassociation.org/forum/index.php?topic=33771.0, although a bit larger. Definitely sad saying farewell to an old friend. I hope your new build goes well. Looking forward to see your progress.
New chest freezer arrived this morning! Excited to get to work on the conversion this weekend. If all goes according to plan I’ll be enjoying a nice cold home brewed pint by next week.
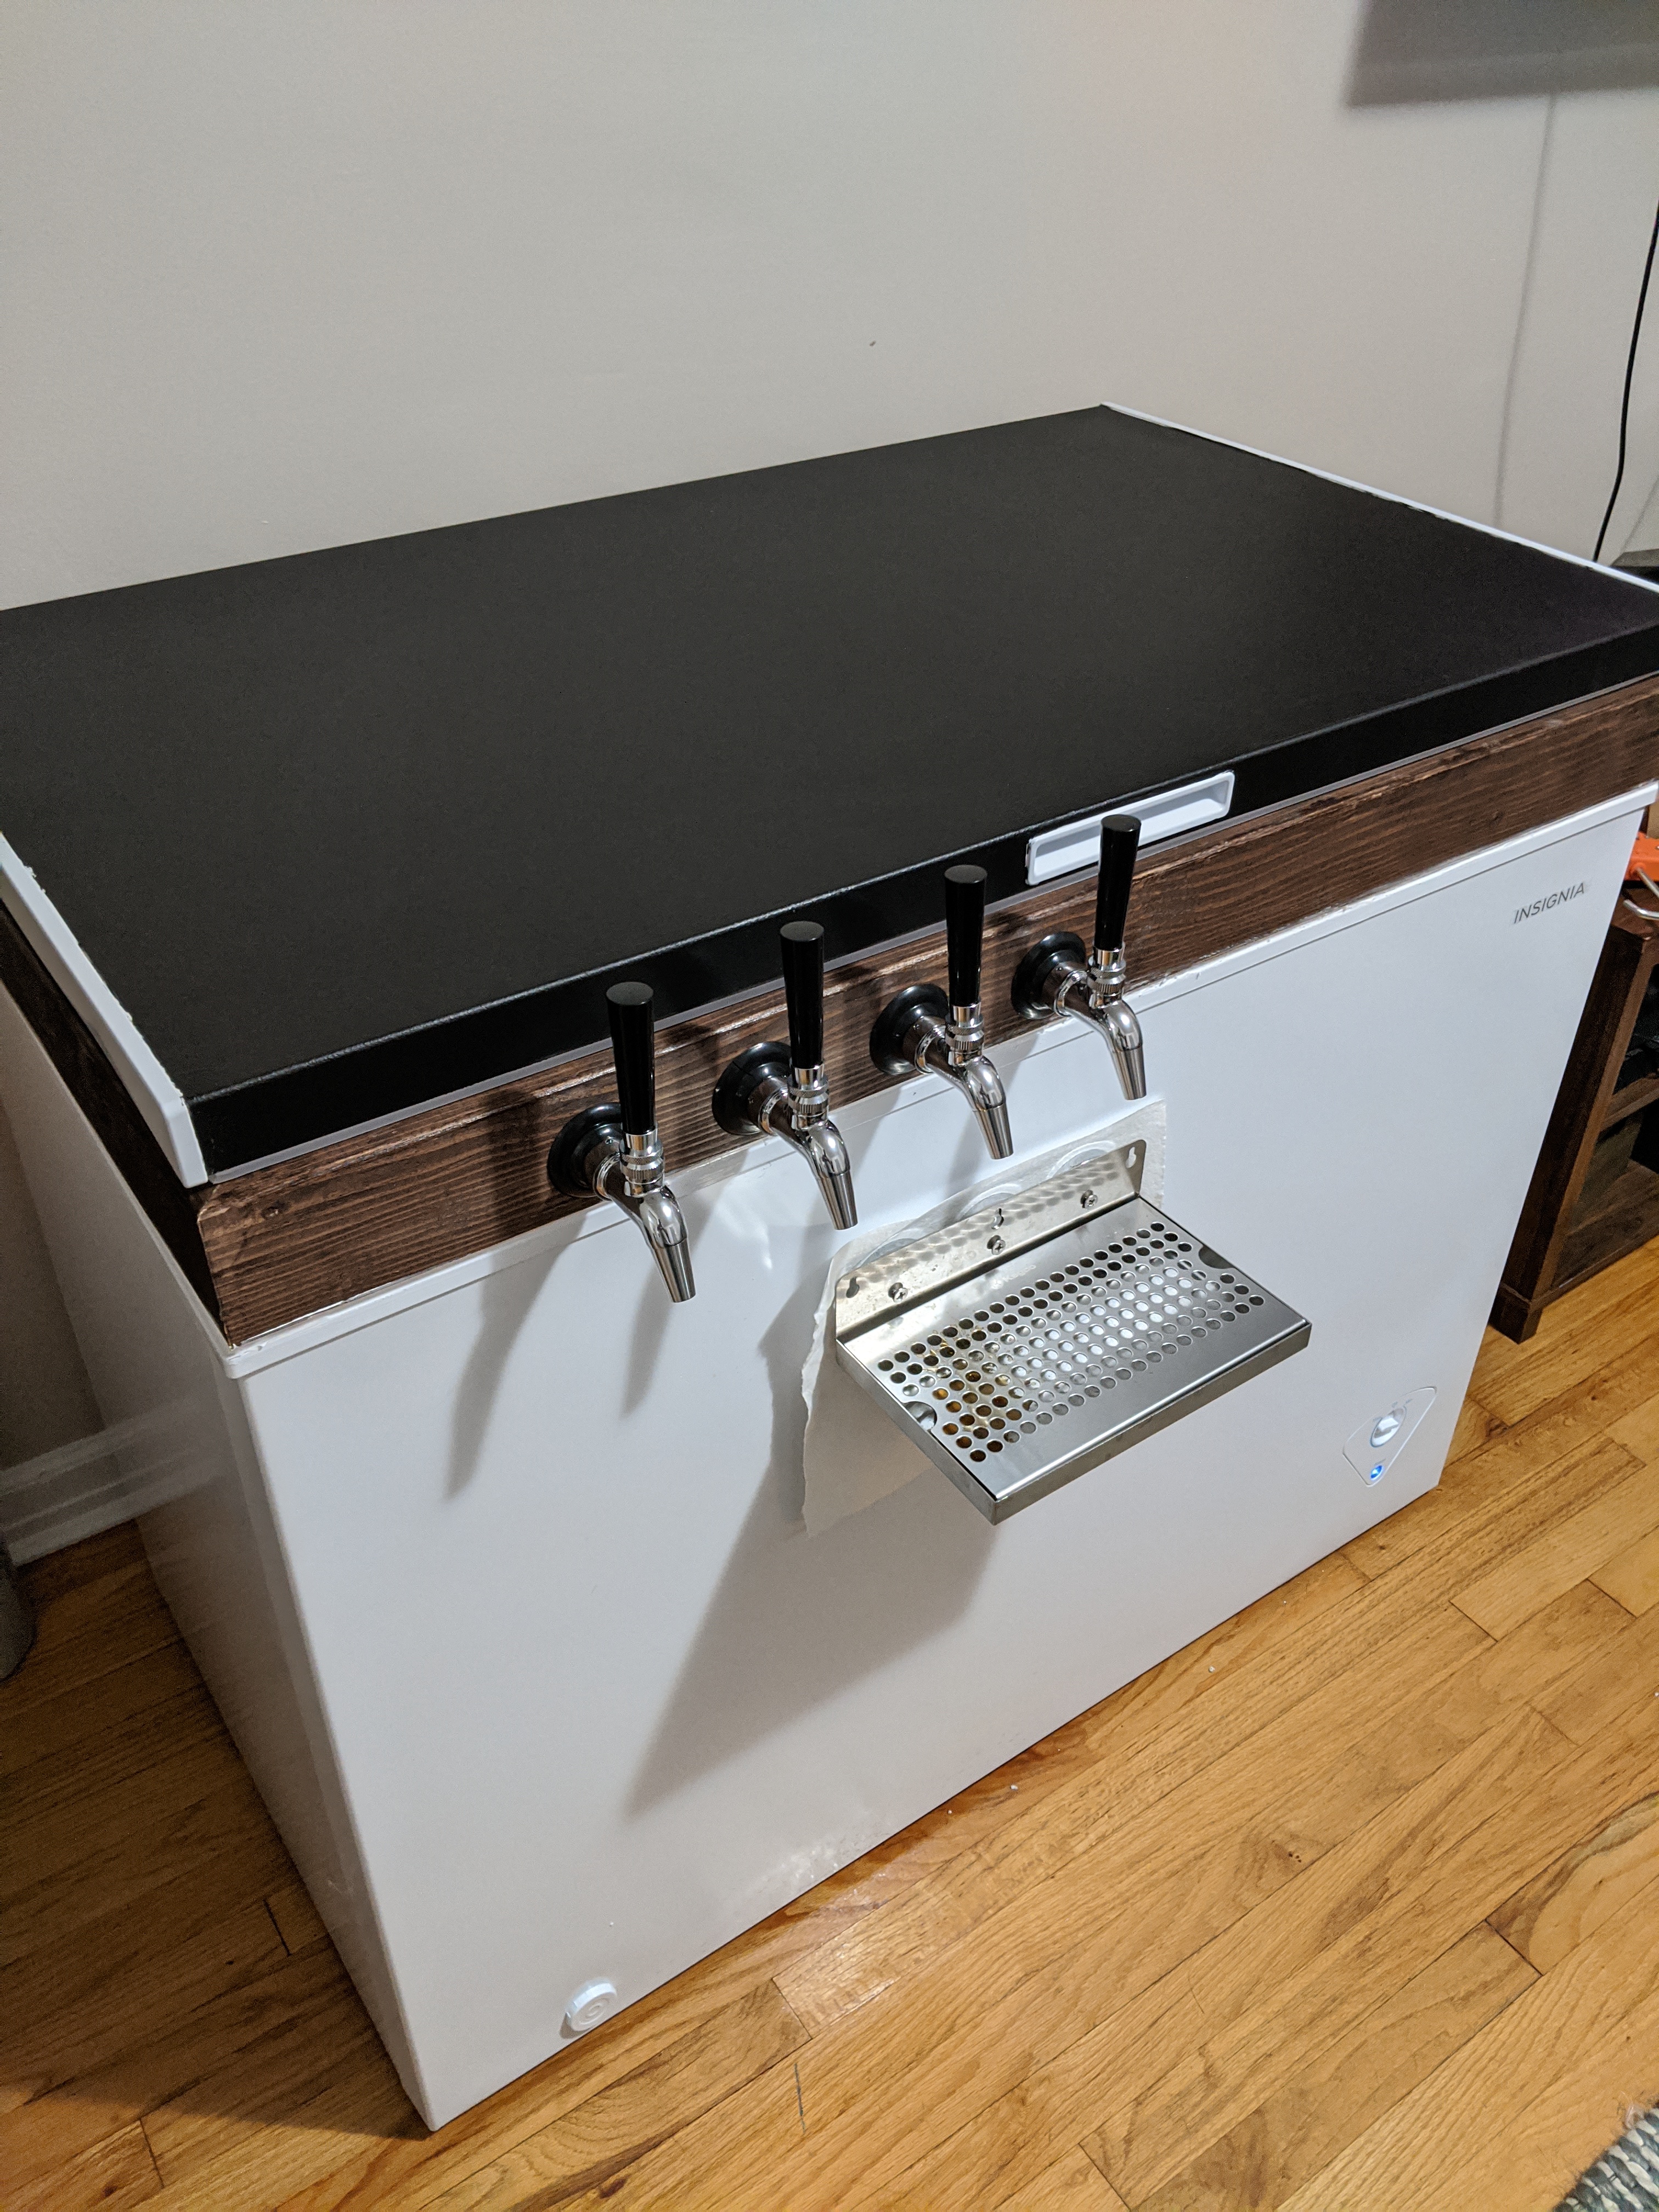
I was also able to paint the lid with Rustoleum chalkboard paint, the same way I did the previous lid, so I can jot down what’s on each tap at any given time
And finally this morning I was able to get the collar attached to the freezer itself. I decided to go with just silicone to adhere the collar to the freezer, rather than construction adhesive like I used last time. I figured the silicone will adhere well enough, and if for whatever reason I want to remove the collar, I can do that without completely destroying the lip of the freezer. (Cameo from the 10 gallons of pale ale I brewed that’s been sitting around waiting for this to be done)
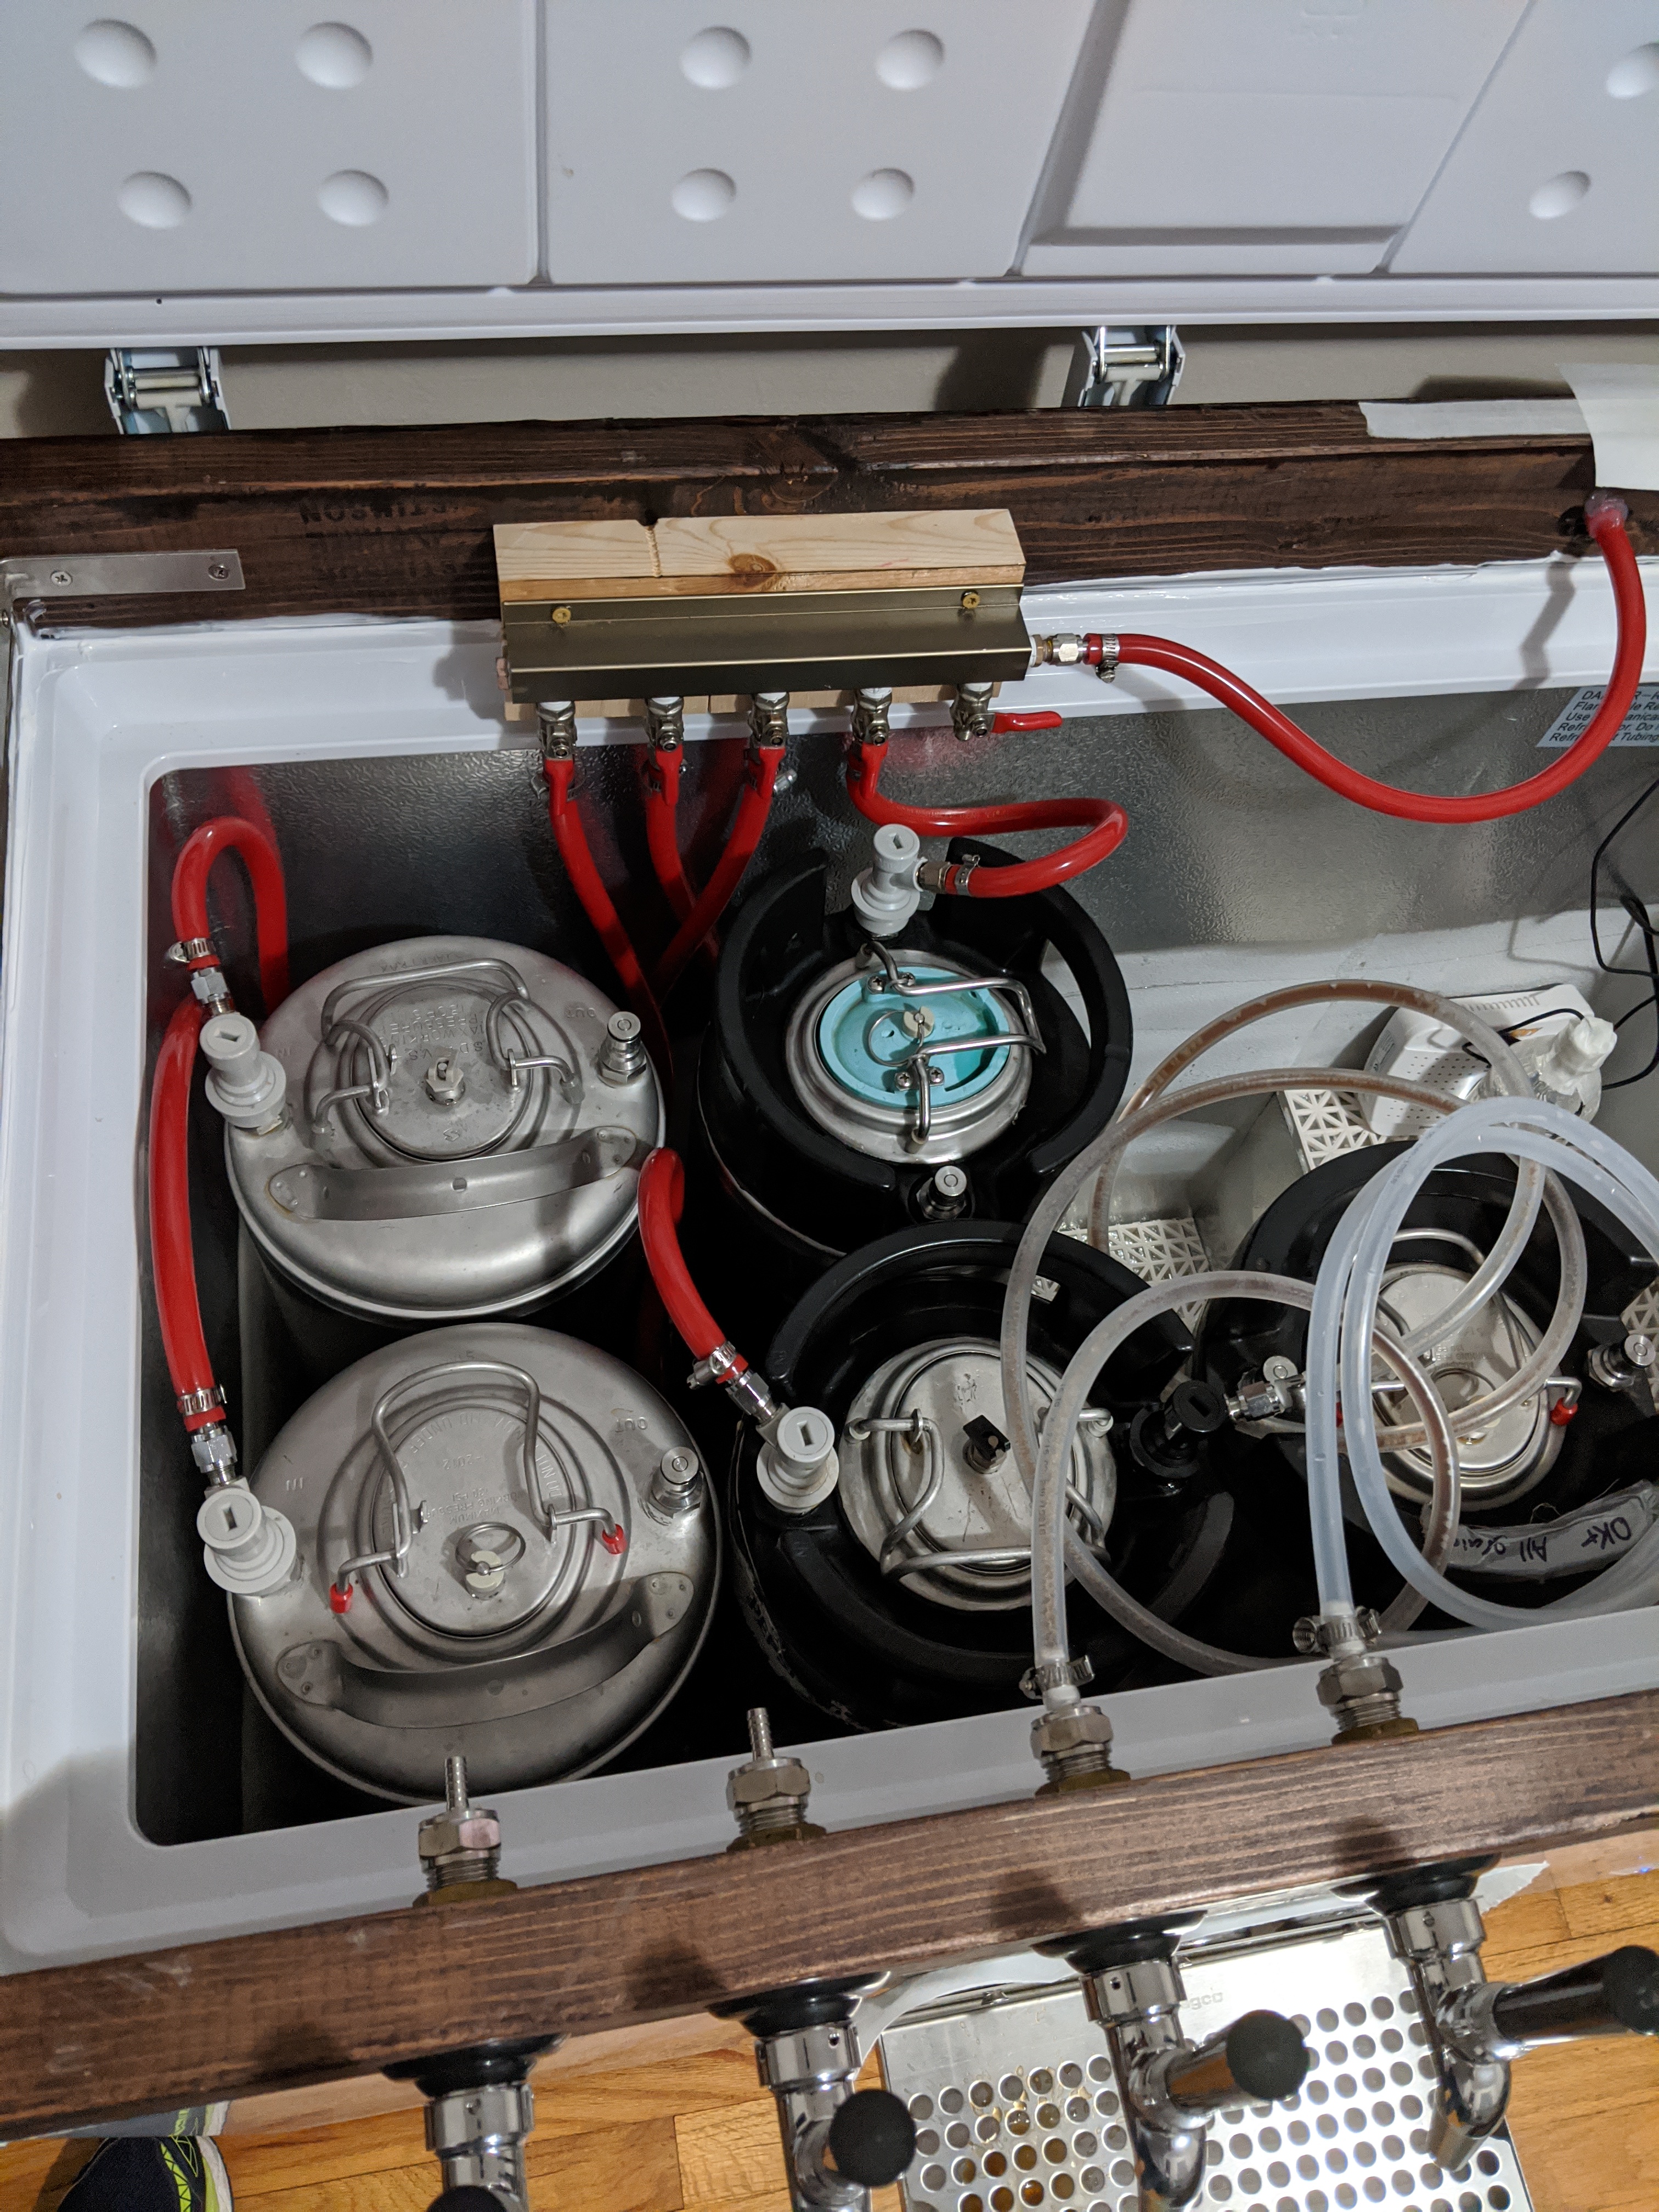
Okay, (almost) final update. So after letting that collar sit with the kegs weighing it down for a little over 24 hours I was able to continue working and got the keezer actually running.
Inkbird ITC-308 is just hung on a hook on the back of the collar, so it’s not immediately visible, but I can easily grab it to check the temp and/or adjust my settings
CO2 tank is outside the freezer (my last keezer I had it inside, but I’ve read that can cause some issues with the accuracy of the regulator), tucked behind the tv stand because according to my girlfriend “it’s an eyesore” ???
Next thing to figure out is a way to pad the magnets on the back of the drip trays so they don’t scratch the paint on the front of the freezer (I noticed that was a problem on the last keezer, and it was much more noticeable since I painted it black over the original white paint), and I have to get the fan mounted, but me being in a rush during this project didn’t realize the fan I have is too big to mount right to the 2x4 collar, and I probably should have went with 2x6 for this project. But oh well, what are you going to do?
Now that the brunt of the project is done, time to sit back and enjoy some home brew for the first time in quite a long time (too long really). This is a dry Irish stout I had brewed back in February, in preparation for a St Patrick’s day party that was inevitably cancelled due to Covid, but tastes just as good now
Next thing to figure out is a way to pad the magnets on the back of the drip trays so they don’t scratch the paint on the front of the freezer (I noticed that was a problem on the last keezer, and it was much more noticeable since I painted it black over the original white paint)
Kick ass keezer. Can you put painters or electrical tape over the magnets?
I was thinking about maybe trying to get some thin rubber matting to glue over the edges of the magnets, or even maybe just cut up an old hanes t-shirt and see if that works. Electrical tape might be a quick and cheap solution though.
Fine job! The only thing I did differently from you with the collar is I used Luan (sub flooring) on the outside to fit over the top edge of the keezer to hold the collar in place. No gluing required and I am holding it together with screw nails on the 2x6 frame and staple gun brads on the Luan.
Since I just redid the metal interior of my keezer with Rustoleum and Flex Seal to stop the corrosion, you have inspired me to finish the collar, somethjing I never did. Stain and Polyurethane are now in my future!
Yes, I wanted to be able to easily rest a pint glass or a growler down on it. That’s also the reason for the magnets on the back, I went way overkill on them, that way if I really want to I can have a full growler sitting on the tray and not have it sliding down the front of the fridge or just pulling off entirely. Of course, that also caused my issue of scratching the last keezer because the edges of the magnets would dig in if I tried to remove them haha.
Pretty simple install, just mounted the fan to a scrap piece of 1/2" plywood with machine screws, leaving about a 1"/1.5" space between the back of the fan and the plywood (Used the biggest hole saw I had on hand to bore out the middle of the plywood for good measure), then screwed the plywood to 2x4 blocks that got mounted to the collar. Had to take a bit off the 2x4’s, since the collar itself is 2x4 lumber and the lid of the freezer has a lip that comes down past the collar about an inch or so. Bottom machine screw on the fan actually made a nifty spot to hang my thermometer (not that I use that thermometer much since I have the temp controller, but I had it lying around, so figured why not)
I’m about to get a new freezer tomorrow as my kegerator died and building a new one. But hoping I can retrofit my existing collar onto the new freezer body. The lid and collar come up as one instead of the collar being attached to the freezer body. Makes it kind of nice for lifting kegs into the freezer. The one challenge is that my old freezer was 9cu ft and this new one is 7cu ft. But I think I’ll be able to work around that. Fingers crossed…
Eh, from what I’ve gathered insulating the collar may not actually do that much. I’d rather have the exposed wood on the inside, in case I want to mount anything else in the future.
Good luck with your retrofit. I had considered doing the same, the problem I had was both the length and the width of the new freezer were pretty drastically different, so there would have been a ton of adjustments to be made, found it easier to just go buy a couple new 2x4’s haha.